Checklist Configuration
Overview
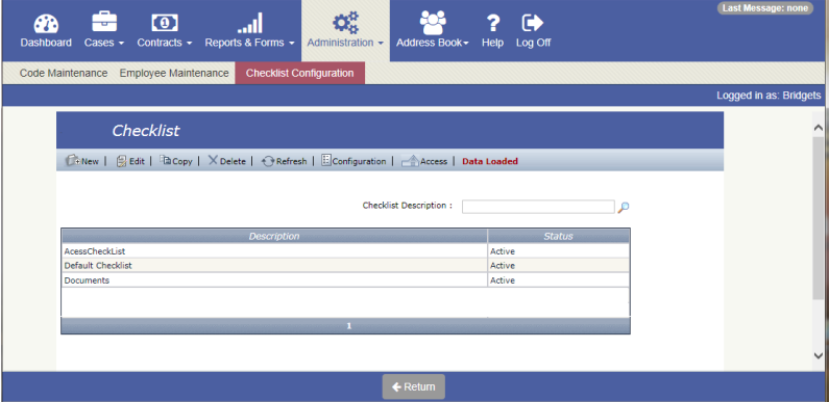
To configure Checklists in the MIS Professional application, navigate to Administration – Checklist Configuration. The Checklist screen displays all checklists in a grid. From this screen, you can Add, Edit, Copy, Delete and set Access. You can create more than one Checklist as they can vary by location and service level for different customers.
Double-click on the checklist Description or click the Edit button while the desired Checklist is highlighted. The Checklist Detail page displays. From here you can set a Checklist as Active or Inactive by selecting from the Status drop-down list.
Checklist Configuration
Navigation to the Checklist Configuration screen is done by Highlighting a Checklist and clicking the Configuration button on the Checklist screen. On the checklist configuration screen, you can Add, Update, and Delete checklist Sections and Items.
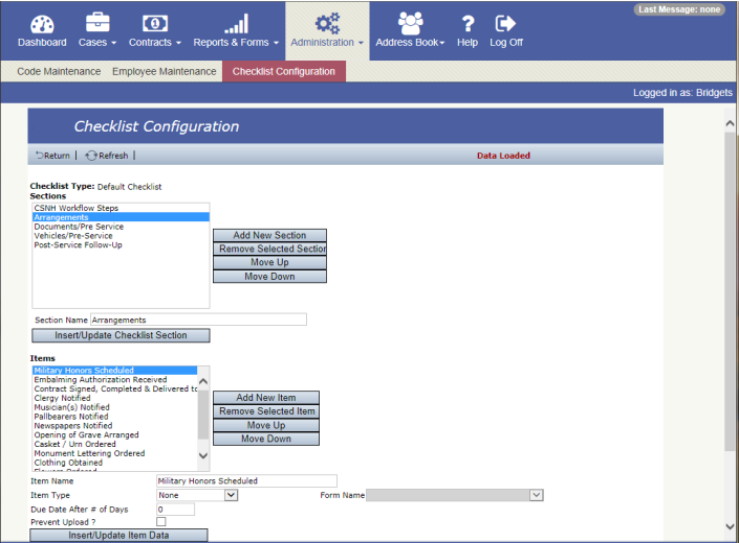
The selected Checklist name is displayed in the “Checklist Type” field, to indicate which checklist is being modified.
Checklist Configuration Controls
The following 5 controls exist on the Checklist Configuration screen:
•Item Name: This is the Name of the Checklist item
•Item Type: The Type of checklist item. This is a drop down list containing the following values: None, Text Box, Radio Button, Death Certificate, Form, and Family
•Form Name: This field is enabled when "Form" is selected in the Item Type field. This is a drop down field, where a specific form in the system can be selected
•Please Note: The selections of Forms, Death Certificate and Family in the Item Type and Form Name fields are only used by MIS Professional
•Due Date After # of Days: This is a numeric field. It can have values from 0 to 999. Default value = 0
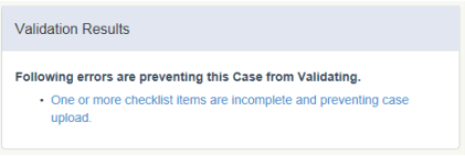
•Prevent Upload: This is a check box field. The default value is unchecked. By checking this flag, the case will not be uploaded unless the item is completed (Completed Date entered).
•If the completed date is not populated upon Upload, the system will return a validation message:
When adding or changing a Section or Item on this screen, Be sure to click the Insert/Update Checklist button to save the changes.
Granting Checklist Access by Location
Location Access can be set for each checklist from the Checklist screen. To do this, highlight the Checklist and click the Access button, the Checklist Facility Access screen will open.

Select the Location(s) that the checklist should have access to and click the Right arrow to move them to the “Locations with access granted” column. Click the Save and Close button to save changes made. Clicking the Return to Checklists button will navigate back to the Checklist screen.
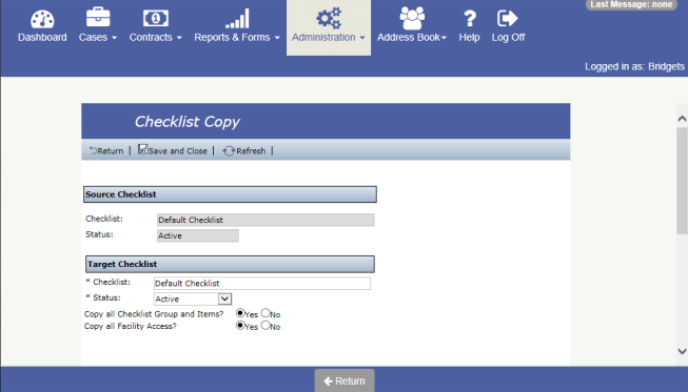
Copying Checklists
When the copy button is selected, the system will copy the selected checklist details. All configuration (i.e. Checklist Item Groups and Checklist Items) and Location Access can be copied to the new checklist.
Deleting Checklists
Clicking the Delete button allows the user to delete a selected checklist. All configuration (i.e. Checklist Item Groups and Checklist Items) and Location Access will be deleted. Upon clicking the Delete button, the system will validate if the Checklist is being used or not. If the checklist is associated to a case, a delete is not allowed and a message is returned indicating that the checklist is being used in X amount of cases.